
DIY Apple Quilted Coaster Tutorial

It's apple picking season and this adorable apple quilted coaster is the perfect craft to bring the magic of the orchard into your home.
YouTube Video to follow Instructions
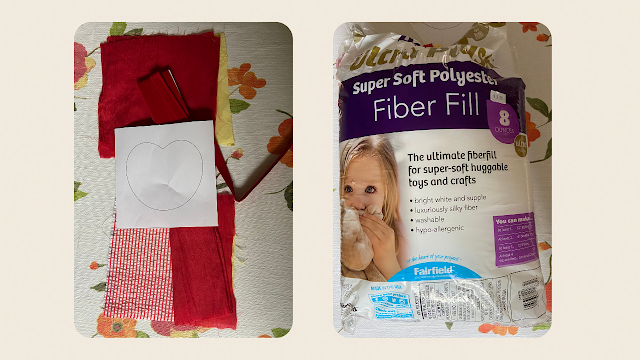
Materials:
- One fabric for the main colour
- One fabric in a contrasting pattern
- One woven cotton or linen fabric for the lining
- Polyester fiber fill, or (even better) heat resistant quilt batting
- Double fold bias tape
Step-by-step instructions:
1- To start, print out our free pdf pattern and trace the square outline on your desired fabric. We cut out three red squares, two yellow woven cotton squares and one striped red square.
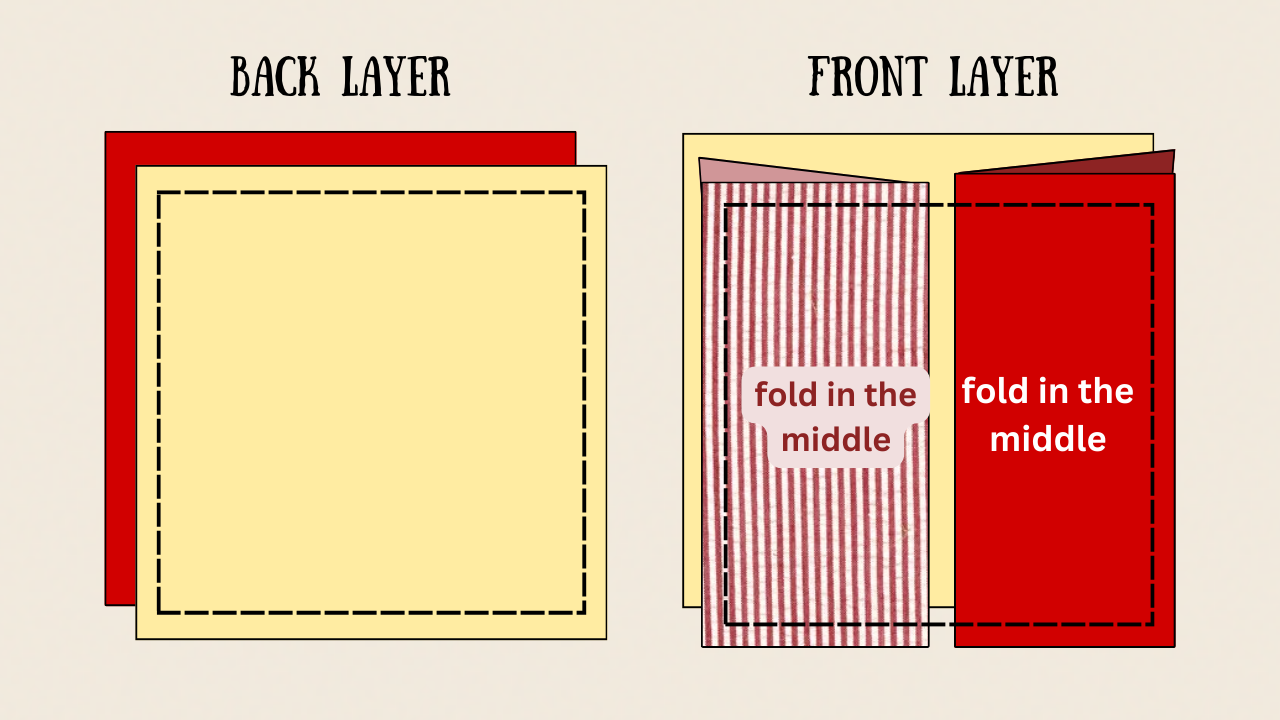
2- Sew your front layers and the back layer to their lining layer with a square-shaped stitch, with around 1 cm of seam allowance
3- Iron down the layers if necessary. Pin the layers together, trace the apple pattern on the front layer and sew along the outline, leaving a small hole.

4- Cut out the apple-shaped "pocket" and insert the fibre fill. *(Note: Make sure it is not too full. See example below.)


6- Sew on the bias tape to finish the edges. If you are feeling crafty, you can embroider a seed on the apple coaster.
.png)


Comments
Post a Comment